![]()
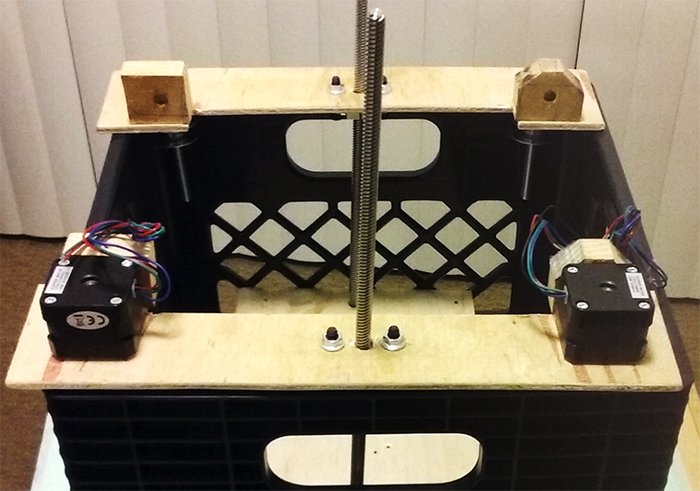
1) Take the extruder sled block. Place two linear bearings on the middle linear rods. Press the extruder sled block against them in order to see how far apart the linear bearings need to be. Mark where the linear bearings sit and where the holes should be. Drill these holes using a 7/64-in drill bit. Drill the top of the block again with a much larger drill bit (e.g., 3/8-in) to countersink each hole. Secure the linear bearings with M4-0.7 screws into all eight holes.
2) Mark the middle of the block, 1/2-in from the linear bearings. Drill these holes with the 11/32-in drill bit. See fully assembled part in Figure 13.
3) Place command strips against the middle of four countersunk holes. Press the Extruder against the strips and hold for 30 seconds. Thread zip ties through the holes on either side of the linear bearings to hold the extruder in place. This setup will allow you to remove and/or upgrade the extruder with ease if needed.

Figure 14: Fully assembled extruder sled
 DIY RepRap 3D Printer for Beginners – Part 2: Wire
 DIY RepRap 3D Printer for Beginners – Part 3: Code
 UCLA “AirMouse” using ROHM Sensor Evaluation Kit – Part 2
 Arduino-Based DIY Electric Skateboard
 Want to Make DIY Internet of Things Projects?
 Robotics and 3D Printing: Ushering in the 4th Industrial Revolution