![]()
Originally published by Feb 21, 2020
Monstar Studio
– stock.adobe.com
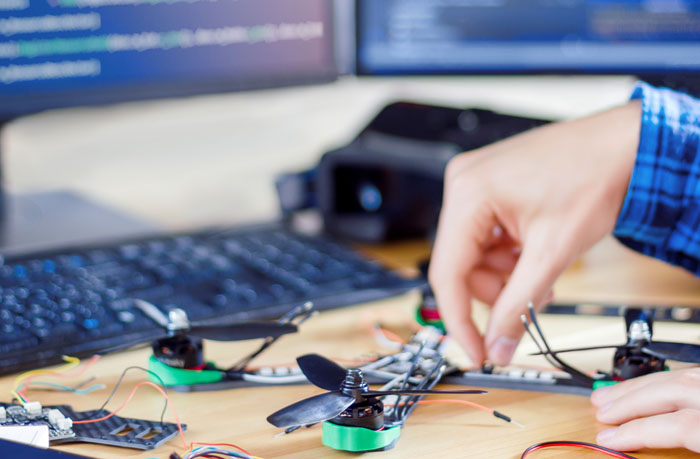
Caught the “drone” bug, and you’re looking for new projects to tackle? You’ve come to the right place. Whether you want to build a drone from parts or focus on the possibilities of Arduino, we’ve got you covered.
Use each of these posts to get step-by-step tips to build your drone and add new features to it.
#1. Build A Drone From Scratch
Anybody can order a drone or buy one from a store. What if you’re looking for a different kind of challenge? Use our guide to build a simple, cheap drone from scratch. Unlike commercially produced drones, this do-it-yourself product requires less than $50 in parts. This makes it the perfect project for the hobbyist on a budget, a starter project for children, or for those worried about making a mistake. To get started, here are some of the hardware components we recommend:
Now you’re probably wondering, how long will it take to build your drone? That depends on your skill levels and experience with electronic and mechanical DIY projects. You could probably finish this in a weekend.
#2. Control A Ballistic Parachute With Arduino
Did you notice that the DIY drone described above has a short battery life? If it runs out of power, it might fall from a height and crash to pieces. Yikes! There goes all your hard work. There’s another option! You can build your own ballistic parachute. This is a great way to add some safety protection into your drone in case you lose power or suffer a malfunction.
Here are the parts you need to give your drone parachute powers:
In terms of Arduino, you do not need to start from nothing. Instead, we recommend tinkering with the freeFallThreshold, freeFallDuration, and doing drop tests. For the best results, do the drop tests from a small height to get started.
#3. Deliver A Payload Using A Drone
You’ve developed a drone that can safely land with a parachute, even if the main power fails. That’s an excellent way to keep your drone safe from harm. What if you want to impress friends? Take a look at making a small delivery with a payload. Some companies like Uber are already developing drones with food delivery capabilities.
For now, let’s develop a simple do-it-yourself delivery drone. First, set your expectations. We can deliver a payload of 2 kg (4.4 pounds). That’s enough to provide a can of beer, a bag of chips and a small magazine. In other words, you can fly out your weekend afternoon reading by drone!
To achieve a 4.4-pound payload delivery capability, you will need to get some parts. Fortunately, you probably already have a few of these parts in your home. Before you get started, here is what you need to have on hand to develop your delivery drone.
The GPS module is critical. Otherwise, you will have to manually control the drone consistently and that’s not as impressive. By the way, you will need to run some code as well to test the system and get everything properly configured.
#4. How To Get Started With 3D Mapping Using A Drone
After you get into using your drone for a few weeks, you might start to get bored. You’ve explored your backyard. You’ve taken thousands of photos of your immediate area. What else can you do? Well, this is a perfect time to explore a new drone hobby: 3D mapping!
Initially, building 3D maps with drones came about as a business tool. For example, if a landowner needed a more detailed overview of their property or farm crops, a drone generated map can help. However, drone 3D maps are also a fun way to explore!
To get started with drone 3D mapping, you need a few things:
Once you create a 3D map of an area with a drone, go back in a few months and create another map. You’ll probably discover subtle ways in which the area has changed over time.
#5. How To Build A “Follow Me” Drone
A drone that follows you around is almost like having a robotic pet! Fortunately, you don’t have to pay much money to create a flying robotic pet. Instead, follow our directions, and you will have a “follow me” drone. With this project, your drone will follow you around based on GPS technology. Here are some of the hardware components you need to build a follow-me drone:
Which Drone DIY Project Will You Start Next?
The drone project you pick depends on your skill level and material. Start with the $50 DIY drone project and then build from there!
Discover more drone hacks and projects with our detailed guides:
 How to Build a DIY Drone from Scratch Part 1: Building a Cheap DIY Drone
 DIY RepRap 3D Printer for Beginners – Part 1: Build
 Building DIY Ballistic Parachute System for your Drone with Arduino
 These Arduino Robot Kits Make Robots Easy And Cheap To Build
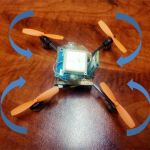 How to Build a DIY Drone from Scratch Part 2: Using Arduino Nano as a Flight Controller
 The History of Raspberry Pi


