![]()
Not long ago, we looked at how to use a Raspberry Pi’s I2C bus to control an Arduino Uno, and how to use it to output analogue voltages.
Excitingly, this takes you most of the way to building a simple synthesizer.
Even better, a talented maker called dzl has already published a set of Arduino libraries called the_synth which we can install and use right away.
So, let’s do this thing! Let’s build a wavetable synthesizer.
A wavetable synthesizer stores a range of simple waveforms in memory as tables of different voltage levels.
The synthesizer outputs these voltages at different speeds to produce tones at the same frequency.
Because we only need to store a single cycle of each waveform, this is a really memory-efficient approach, well suited to the constraints of simple microcontrollers.
In the_synth, you’ll find the wavetable in the tables.h file. If you wanted, you could edit this file to create waves of your own.
We then turn these numeric values in memory into analogue voltages by connecting the Arduino Uno’s PWM hardware to a low pass filter, as we covered earlier.
| Raspberry Pi |  |
| A GPIO extension board |  |
| A solderless breadboard |  |
| An Arduino Uno |  |
| A 1k Ohm resistors |  |
| A 10nF capacitor |  |
| A 220uF capacitor |  |
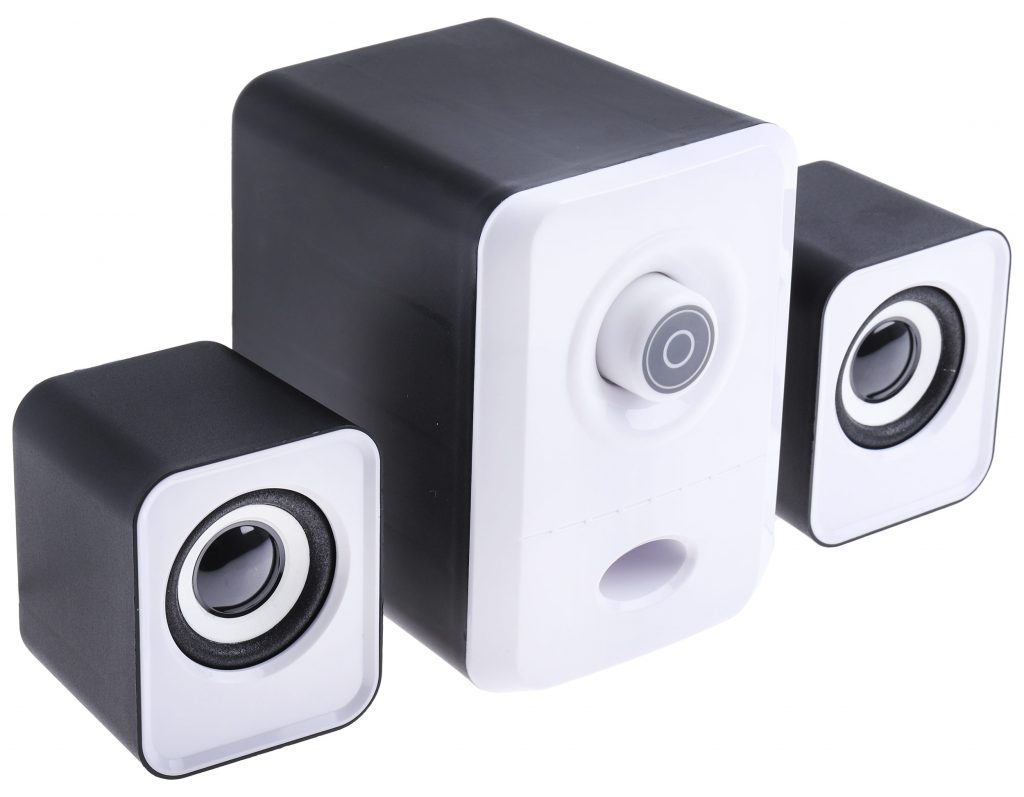
| A powered speaker |  |
It’s a good idea to not use your best powered speaker to build and test a DIY synthesizer or audio project. You likely won’t damage anything with a circuit like this, but still, why risk it?
I’ve been using a big old solid-state hi-fi that I bought from the second hand store for five bucks. Some old computer speakers would also be great.
The_synth comes with numerous examples demonstrating how it can be used, all ready to go. Before we delve into the code, let’s try one of these.
To install the libraries and included examples in your Arduino IDE, head over to https://github.com/dzlonline/the_synth and click on the green button in the top right of the page marked Code.

Click Download ZIP and save this file.
Now open the Arduino IDE. In the Sketch menu, hover your cursor over Include Library and then click Add .ZIP library…

Navigate to the .zip file we saved earlier, select it and click OK.

You’ve now installed the_synth to your IDE and can access the libraries and examples from the menu. Let’s try the any_hertz example, which loops through four different frequencies.

You can find this example by clicking the File menu, hovering over Examples and then scrolling to the bottom to where it says the_synth-master. Hover over this and click any_hertz to open the sketch.
Now connect the Arduino Uno by USB, double check that you have the Arduino Uno board selected, and upload the sketch.
Now we need to connect our Arduino Uno to a simple low pass filter, like the one we built before, and then connect that to our speaker.
First, start with the power pins:

The connect pin 11, our PWM pin, to the middle of the breadboard. We’ll also need a connection to ground to build our low pass filter, so connect a ground pin to the negative power rail:

Now build the low pass filter. Connect the 1k resistor to your PWM pin, and then connect the 10nF capacitor to the other end of the resistor and to the ground rail, like this:

Now we want a coupling capacitor, to make sure we don’t pass any DC content. Remember that electrolytic capacitors are directional, so connect the anode (the longer leg) to the low pass filter and the other leg a little further down the breadboard.

Connect your speaker to the cathode of the coupling capacitor, and to ground if you need to.
If you’ve wired everything correctly, you will now hear a series of four tones.
You can now hear some beeps from a wavetable synthesizer you built yourself. Cool, huh?
But it’s not very interesting just to listen to the same four notes, over and over again. What we want is something we can control from the Raspberry Pi.
We can do this over the I2C bus, using the Arduino’s Wire library and the SMBus module in Python, which we covered before.
All we really need to do here is mash this any_hertz example together with the I2C program we wrote earlier to play the notes we send.
Let’s start by including the I2C and synth libraries.
#include <Wire.h>
#include <synth.h>
Every Arduino sketch needs a setup function, and ours needs to do three things: to join the I2C bus as a slave, to initialise our synthesizer, and to call another function when it receives an instruction by I2C.
We can do that like this:
void setup() {
edgar.begin(); //-Start up a synth
edgar.setupVoice(0,TRIANGLE,60,ENVELOPE1,127,64); //-Set up voice 0
Wire.begin(0x8); // Join the I2C Bus as a slave at address 0x8
Wire.onReceive(readInstruction); // On
}
Now we need to write the readInstruction() function. This will read a number from the I2C bus. If it gets a 0, it should play nothing. If it gets a number between 1 and 8, it should play a note between A1 and A2.
void readInstruction(int bitstream) {
byte option = Wire.read();
switch (option) {
case 0:
edgar.setFrequency(0, 0.0); // Play nothing
edgar.trigger(0);
break;
case 1:
edgar.setFrequency(0, 55.0); // Play A1
edgar.trigger(0);
break;
case 2:
edgar.setFrequency(0, 61.74); // Play B1
edgar.trigger(0);
break;
case 3:
edgar.setFrequency(0, 65.41); // Play C2
edgar.trigger(0);
break;
case 4:
edgar.setFrequency(0, 73.42); // Play D2
edgar.trigger(0);
break;
case 5:
edgar.setFrequency(0, 82.41); // Play E2
edgar.trigger(0);
break;
case 6:
edgar.setFrequency(0, 87.31); // Play F2
edgar.trigger(0);
break;
case 7:
edgar.setFrequency(0, 98.0); // Play G2
edgar.trigger(0);
break;
case 8:
edgar.setFrequency(0, 110.0); // Play A2
edgar.trigger(0);
break;
}
}
Lastly, every Arduino sketch also needs a loop function. We don’t actually need anything from it though, so let’s just send it to sleep.
void loop() {
sleep(10000);
}
Save this sketch and upload it to your Arduino Uno.
This isn’t any different to what we covered in the earlier articles: hook the Raspberry Pi’s SDA pin to the Arduino Uno’s A4 pin and the SCL pin to A5.

Let’s put this together to play Mary Had a Little Lamb.
This song has two different note lengths: quarter notes, or crotchets, and half notes, or minims. Let’s write two quick functions to play each of these notes.
We need to time this, so let’s import the sleep function.
from time import sleep
But how long are we making it wait for? Our song is at 122 beats per minute. Using this calculator, we can see what that looks like in seconds: a quarter note is 492 microseconds. Let’s use some of this a very short pause at the end, so that these notes are distinct when they’re played at the same pitch.
def playCrotchet(int pitch):
i2cbus.write_byte(pitch)
sleep(0.472)
i2cbus.write_byte(arduino, 0)
sleep(0.02)
Now let’s write a half note function:
def playMinim(int pitch):
i2cbus.write_byte(pitch)
sleep(0.964)
i2cbus.write_byte(arduino, 0)
sleep(0.02)
Now
def playMary():
playCrotchet(E2)
playCrotchet(D2)
playCrotchet(C2)
playCrotchet(D2)
playCrotchet(E2)
playCrotchet(E2)
playMinim(E2)
playCrotchet(D2)
playCrotchet(D2)
playMinim(D2)
playCrotchet(E2)
playCrotchet(G2)
playMinim(G2)
playCrotchet(E2)
playCrotchet(D2)
playCrotchet(C2)
playCrotchet(D2)
playCrotchet(E2)
playCrotchet(E2)
playCrotchet(E2)
playCrotchet(E2)
playCrotchet(D2)
playCrotchet(D2)
playCrotchet(E2)
playCrotchet(D2)
playMinim(C2)
To run this song, type:
playMary()
Have a play and see what else you can come up with.
This is a good start for a synthesizer; you can make some cool basslines with it.
But it’s fairly cumbersome to write out all our music as code, and we still only have a limited range of notes and simple waveforms.
Wouldn’t it be good to sequence this with a graphical interface? And to vary the timbre of those notes?
Stay tuned – we’ll be doing that soon.
 Using I2C and an Arduino Uno to Work With Analogue Voltages on a Raspberry Pi
 Introduction to Raspberry Pi 4: Let’s Start Using the New “Raspberry Pi 4!”
 Making the GPIO Easier With GPIO Zero
 Using Arduino with Parts and Sensors – Speakers Part 2
 Raspberry Pi – Basic Completion