![]()

I found this page looking through the Raspberry Pi official website.
It shows how to install WordPress on Raspberry Pi! As a regular WordPress user, I have to try this! So today, let’s try to install WordPress on Raspberry Pi.
We’ve mainly used PHP in our electronic kits projects, so it’s easy to imagine that WordPress, which is PHP based, works on Raspberry Pi! We have an official manual too, so if we can get the database right, it might be easier than you think. (It’s never that easy with Raspberry Pi!)
Instructions to install WordPress can be found in the “Worksheet” page from the “GET STARTED” button shown in the previous page. It is divided into 6 sections, so let’s look at it one by one.
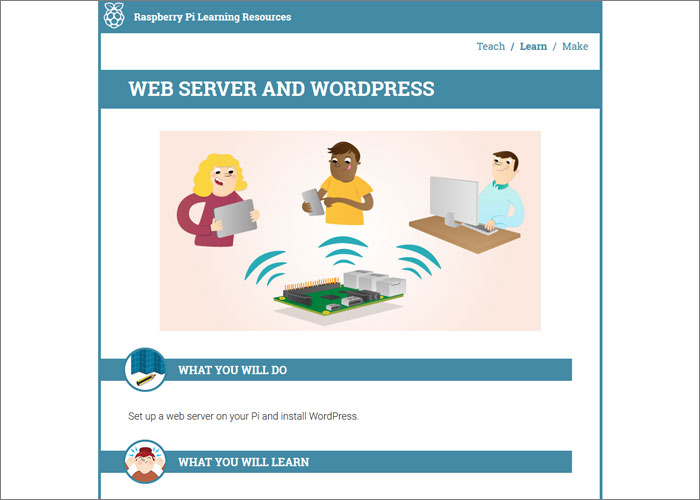
Worksheet – Web Server And WordPress | Raspberry Pi Learning Resources
The point 1 and 2 cover the Apache and PHP installation. WordPress is based on PHP, so let’s prepare the environment before the installation. Even if you installed it already, make sure to update it to the newest version.
sudo apt-get update

sudo apt-get upgrade

sudo apt-get install apache2 -y

sudo apt-get install php5 libapache2-mod-php5 -y
If you see something like this after entering “http://localhost/” or the Raspberry Pi IP address in the browser, you are ready to go.

Figure 1 (From the official Raspberry Pi website)
The default HTML file is not needed, so delete it.
sudo rm index.html
Next, let’s install “MySQL” which we will use as the database for WordPress. Here, we will install two types of packages.
MySQL Databse server
MySQL module for PHP5
Install command
sudo apt-get install mysql-server php5-mysql -y
Once you execute the command, you will be asked to enter a new password twice during the installation process. Enter the password of your choice. You will need this to install WordPress, so write it down somewhere.

Figure 2 (First try)

Figure 3 (Second try)
In our case, we will set the password“raspberrypi”.
In the document, WordPress is installed in Apache’s top directory (/var/www/). So, all the files in the directory have been deleted using the “rm” command. Be careful to not delete some necessary files. If you are using this directory for something else, it is recommended that you create another directory and to deploy WordPress there.
cd /var/www

sudo chown pi: .

sudo rm *
Once ready, let’s download the WordPress files we need from the official website.
wget http://wordpress.org/latest.tar.gz
In the document, it shows how to download the files using the “wget” command. The specified URL here is the same as the download link from the official WordPress website download page.
The file is about 6MB in size (ver.4.2.4). It may take some time to download depending on your network. Once finished, use the “tar” command to unzip the file.
tar xzf latest.tar.gz
Next, use the “mv” command to move all the files in the “Wordpress” folder to the current directory (/var/www/). Then, delete the empty “Wordpress” folder and the “latest.tar.gz” file. If you are logged in as the root user, you can do this manually from the file manager as well.
If you are using it for something else (if you don’t want to delete existing files), do not do this. Instead, proceed with the install in the directory.
mv wordpress/* .

rm -rf wordpress latest.tar.gz
In the 1st row of command, be careful to add a space before the dot “mv wordpress/* .” or else you will get an error.
Staying in the command line, we will move on the MySQL settings. Let’s prepare the database for WordPress. First, log in to MySQL!
mysql -uroot -ppassword
The user name is “root”, and the password is the one you set when you installed MySQL (“raspberrypi” in our case). Enter the user name and password after “-u” and “-p” accordingly without space. If you enter a space there, you will get an error message.

Figure 5
Once you have successfully logged in, the display will show “mysql>”, so proceed by entering “create database wordpress;”.
create database wordpress;
If you see “QUERY OK”, you are done!

Figure 6
Use [Ctrl]+[D] to return to the command line. You can also enter “exit”.
Finally, we are going to install WordPress!
As it says in the document, it is recommended that you enter the IP address in the browser URL to install it. Before doing this, it would be better to have a fixed IP address
You can also install from “http://localhost/”, but images and CSS may not show up properly when accessed from external devices. You can edit it from the WordPress setting screen, but it would be easier to use the IP address from the beginning.

Figure 7
This is the initial screen. If you have used WordPress before, it may look familiar. Click “Let’s go!” on the bottom to proceed.

Figure 8
Enter the MySQL information here. Enter “wordpress”, which we created earlier, for the “Database Name”. Enter “root” for the “User Name” and the password you chose when installing MySQL in “Password” (“raspberrypi” in our case). You can leave the remaining two, Database Host and Table Prefix, as default.
Click “Submit” to create a “wp-config.php” file. But if you are logged in as a non-root user, you do not have the permission to edit the wp-config.php file, so you may not be able to proceed.

Figure 9
Instead, you will see something like this.
In the text area, you will see the wp-config.php file source code. So, copy it and paste it directly from the command line. The database information we entered earlier is already embedded, so all you need to do is paste and save it.
sudo nano /var/www/wp-config.php

Figure 10
Paste the source code by right clicking on the item. Save the file using [Ctrl]+[O] and quit the nano editor by using [Ctrl]+[X].
Return to the browser and hit the “Run the install” button on the bottom left.

Figure 11
From there, it’s like any other WordPress install method! Enter the blog title of your choice and the log in user information, then click “Install WordPress”.

Figure 12
Once the installation is complete, you will see this screen. Click on the “Log In” button on the bottom left to log in as the displayed user.

Figure 13
The top page showed up while being logged into WordPress!
Try accessing it from a different computer. If it works, you are good to go.
If you installed from the “http://localhost/” URL, images and CSS may not show up properly depending on the template structure. In that case, go to “Settings” on the right menu bar and replace “WordPress Address (URL)” and “Site Address (URL)” with the IP address.

Figure 14
When uploading images or installing plugins, you may need to change permission, but this can be done using the regular WordPress settings, so try them out.
We created a Raspberry blog successfully!
It’s actually very convenient, more than I thought! Personally, I like posting the source code from my PC on WordPress, then copy and paste it on Raspberry Pi to try it out. Until now, I used “Samba” to transfert data with Raspberry Pi, but if it’s just text, posting is easier! I think this will come in very handy in our future electronic kits projects!
In our next article, we will take a step away from the familiar Raspbian. We will try out an OS called “Volumio”. It is an OS that specializes in music playback. Apparently, you can start using it immediately without entering any command! Our next project will be quite easy, we will be focusing on speed!
 How to Use a Raspberry Pi as a Web Server
 Making a Raspberry Pi Twitter Bot Part 1 – Twitter API
 How to Use a Raspberry Pi as a DNS Server
 Using Node-RED and Raspberry Pi to Tweet the Weather With a Touch of a Button
 Making a Raspberry Pi Twitter Bot Part 2 – Reading RSS feeds
 Making a Portable Raspberry Pi with the Raspberry Pi A+