![]()
There comes a time when every Raspberry Pi user wants or needs to take screenshots.
You might be putting together some documentation for your project, looking for help with a problem, or just showing off something you’re proud of.
There are a few ways to go about this, depending on what you need.
The Pixel desktop environment on Raspberry Pi OS includes a screenshot tool called scrot. It’s configured to run whenever you press the ‘printscreen’ key. This key is usually located at the top of the keyboard, next to the function keys, and is often shortened to something like PrtSc or PrtScn.
Your screenshot will then be saved into your home folder in PNG format with a timestamped filename.

Hey, that was easy, right?
For some of you, this one touch of a button will do everything you need.
If you want, you can also open a terminal window and run scrot as a command, like this:
scrot
By itself, this doesn’t do much that you wouldn’t get just by pressing printscreen. However, you may still find this handy if you’re writing a script in bash or Python. Note also that if you run it in a different directory, it saves the screenshot there.
Running scrot from the command line becomes much more useful when you add options to it.
Those default filenames aren’t very good at describing what’s actually in the screenshot, are they? If you have enough of them, they’re an awful headache to sort through.
You can set a different one like this:
scrot myapplication.png
You can also use a path to save your screenshot elsewhere on the filesystem.
scrot /home/pi/Pictures/myapplication.png
You will notice that all of these screenshots are of a terminal window. That makes sense: it’s what’s on the screen when scrot runs.

What if you want it to look like something else? You’ll need to set a delay so you can rearrange it. Use a -d option and the number of seconds you want it to wait. For 10 seconds, write:
scrot -d 10
Are you only interested in capturing part of the screen? You could always crop the screenshots in an image editor, but scrot offers some more straightforward methods.
You can capture the active window using the -u option:
scrot -u
If you use this just on its own, the active window will be the terminal. You can combine it with the -d option to have time to switch to something else.
scrot -u -d 10
The -s parameter works similarly, except it waits for you to click on the window you want to select. You can also hold the left mouse button down and use it to select a rectangular area of the screen.
scrot -s
If you want to include the window border, follow either the -u or -s parameter with a b, like this:
scrot -ub
scrot -sb
Mix and match these options freely as you please.
Here are a few things you can combine with scrot to take better screenshots.
If you’re attempting to screenshot something on the terminal that will take you 40 seconds to put together, you might type something like this:
scrot -u -d 40
What you’ll find, however, is that the terminal waits the full 40 seconds before moving to the next command prompt, and then takes the screenshot immediately. Annoying, right? You wanted to use that time to run your commands.
One way to handle this would be to run scrot in one terminal window and the commands you want to screenshot in a different one. That will work just fine, but here’s something even easier:
scrot -u -d 40 &
Adding this single ampersand operator at the end of the command tells Linux to run it in the background while you type.
This is looking good, but do you really want that scrot command in your screenshot? Your reader probably has little need to see it, and it might confuse them.
You can clear this command away, and anything else in the terminal, with this command:
clear
This gives you a spotless terminal window for you to type into.
Do you want all the flexibility of the command-line options, but without a terminal window in your screenshots? You can log in over SSH and run the commands there.
I like to use my phone to do this, but feel free to use a laptop, tablet, or whatever seems convenient.
For scrot to work in a remote session, you need to tell it to access the local display. You do that by putting ‘DISPLAY=:0’ at the beginning of the command, like this:
DISPLAY=:0 scrot
You can use all the same parameters as normal here. For example, to take a screenshot of the currently active window and its borders and save it as mywindow.png, you’d type:
DISPLAY=:0 scrot -ub mywindow.png
If you’d prefer not to type commands, there’s the Gnome Screenshot tool. This needs to be installed from the repositories.
First, make sure your operating system is up to date by typing:
sudo apt update && sudo apt upgrade -y
Then install the tool:
sudo apt install gnome-screenshot
You can then find the tool in the menu under Accessories.
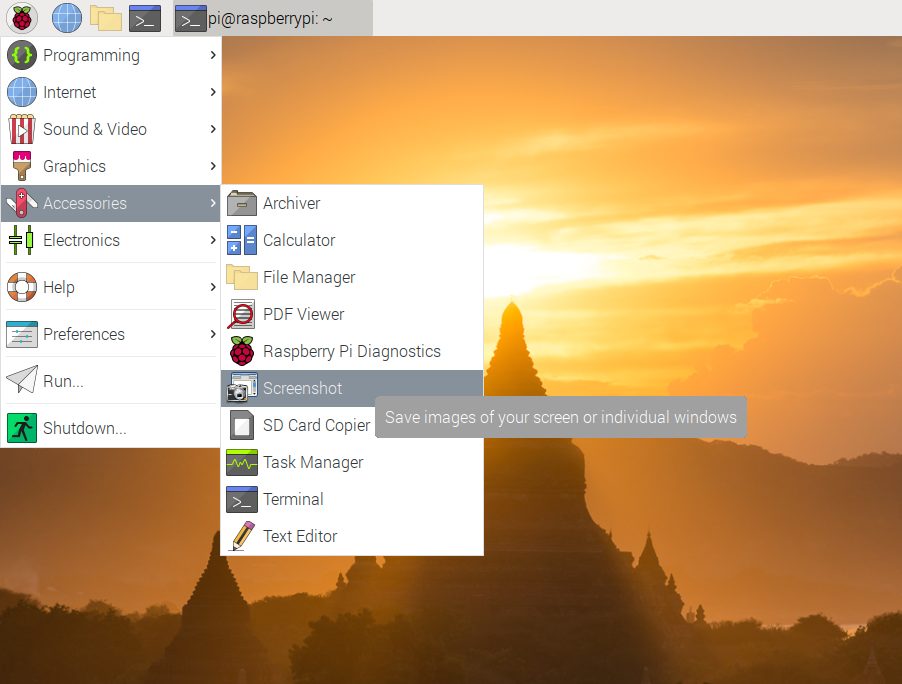
This offers a similar set of options to scrot on a simple panel.

If you aren’t using the desktop environment, neither of these tools is much help. Try to run scrot, and you’ll see something like this:

This is because scrot takes the screenshot from the windowing system. When the desktop environment isn’t running, there is no windowing system.
A related problem can occur when you are in the desktop environment but running particular programs that render graphics at a level below the windowing system. Then, it won’t capture what’s on the screen.
This is what happened when I tried to take a screenshot of Amiberry using scrot:

Which is kinda wild, because what I was seeing was this:

Getting this screenshot requires a tool that works closer to the hardware level. This is where raspi2png comes in. This takes a screenshot right from the firmware of the graphics processor.
Raspi2png offers a quick install script. For security reasons, it’s a good idea to be careful about running any script you come across on the internet. Before you run it, have a look at it here.
You’ll see that this script installs some dependencies, downloads the code, compiles it, and then displays the help information. This is all very ordinary stuff for an installation script to do.
When you’re ready to install scrot, type:
curl -sL https://raw.githubusercontent.com/AndrewFromMelbourne/raspi2png/master/installer.sh | bash –
After you run this script, you will see that the help information lists a whole lot of options. You can view this any time by typing:
raspi2png -H
The options to pay the most attention to are -d and -p.
The -d option sets a delay for a specified number of seconds. If you want it to wait 20 seconds before taking the screenshot, you will do this:
raspi2png -d 20
Specifying a filename is slightly different from scrot. You use the -p option, like this:
raspi2png -p myscreenshot.png
Another way that raspi2png differs from scrot is that if you don’t specify a filename, it always defaults to snapshot.png. If you run it multiple times like this, it overwrites the file, and you lose the previous version.
You can use all the same terminal tricks as we used with scrot here. For example, you can use the & operator to send the task to the background, the clear command to clean up the screen, and you can run it remotely over SSH.
You don’t need to set ‘DISPLAY=:0’ to run raspi2png remotely. This is often useful to screenshot video games.
Raspi2png can capture just about anything you can display, but when you want the convenience of selecting particular windows or using the mouse to select sections of the screen, you’ll probably prefer scrot.
I find I’ve little need for Gnome Screenshot, but that’s just me. If you absolutely hate the terminal, it’s there, and it’s extremely straightforward.
Even with all these options, I find I still use the printscreen key too. For those quick one-off jobs, it’s fast, it’s easy, and it works.
 Tweet on Raspberry Pi via Twython! (Part 2)
 Using Crystal Signal Pi, Part 1 – Setup a Caution Light Solution made with Raspberry Pi
 Making a Raspberry Pi Twitter Bot Part 1 – Twitter API
 Raspberry Pi – Basic Completion
 Beginner’s Guide to Raspbian Jessie with PIXEL
 Raspberry Pi DIY Case & Overview the Preinstalled Softwares


